Beginner's Guide: Six Golden Stages of Baking Yeast Bread
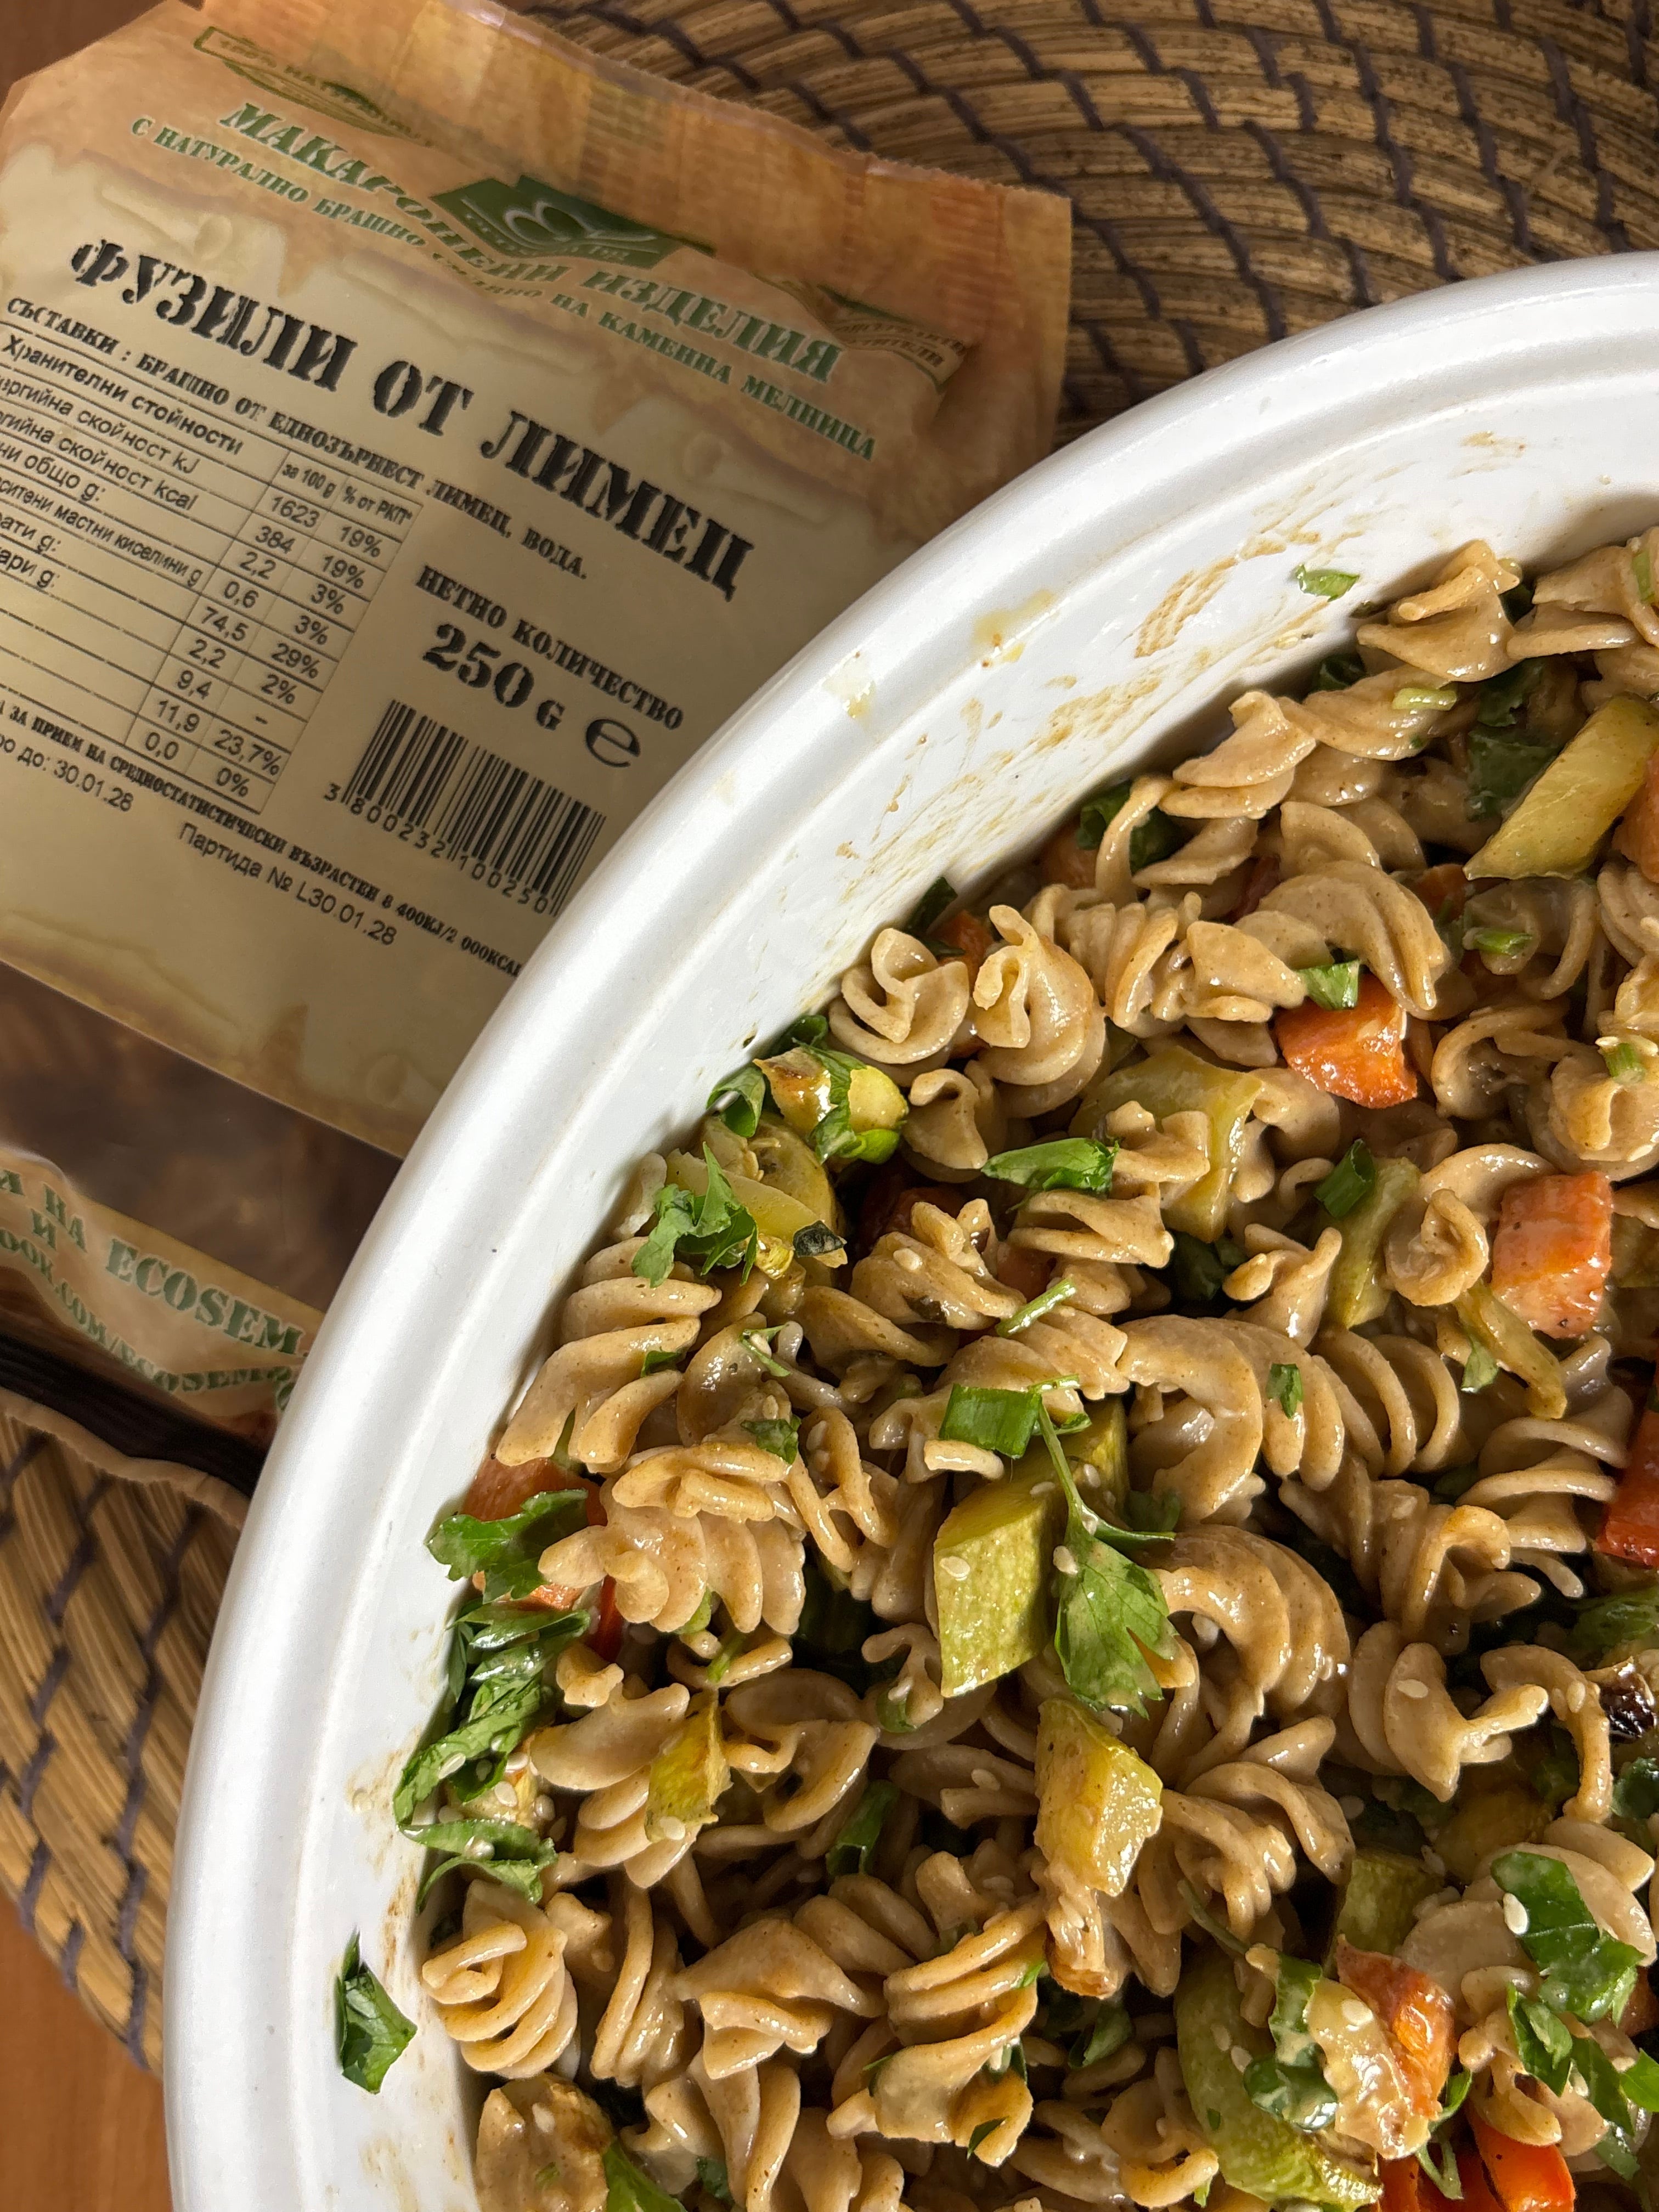
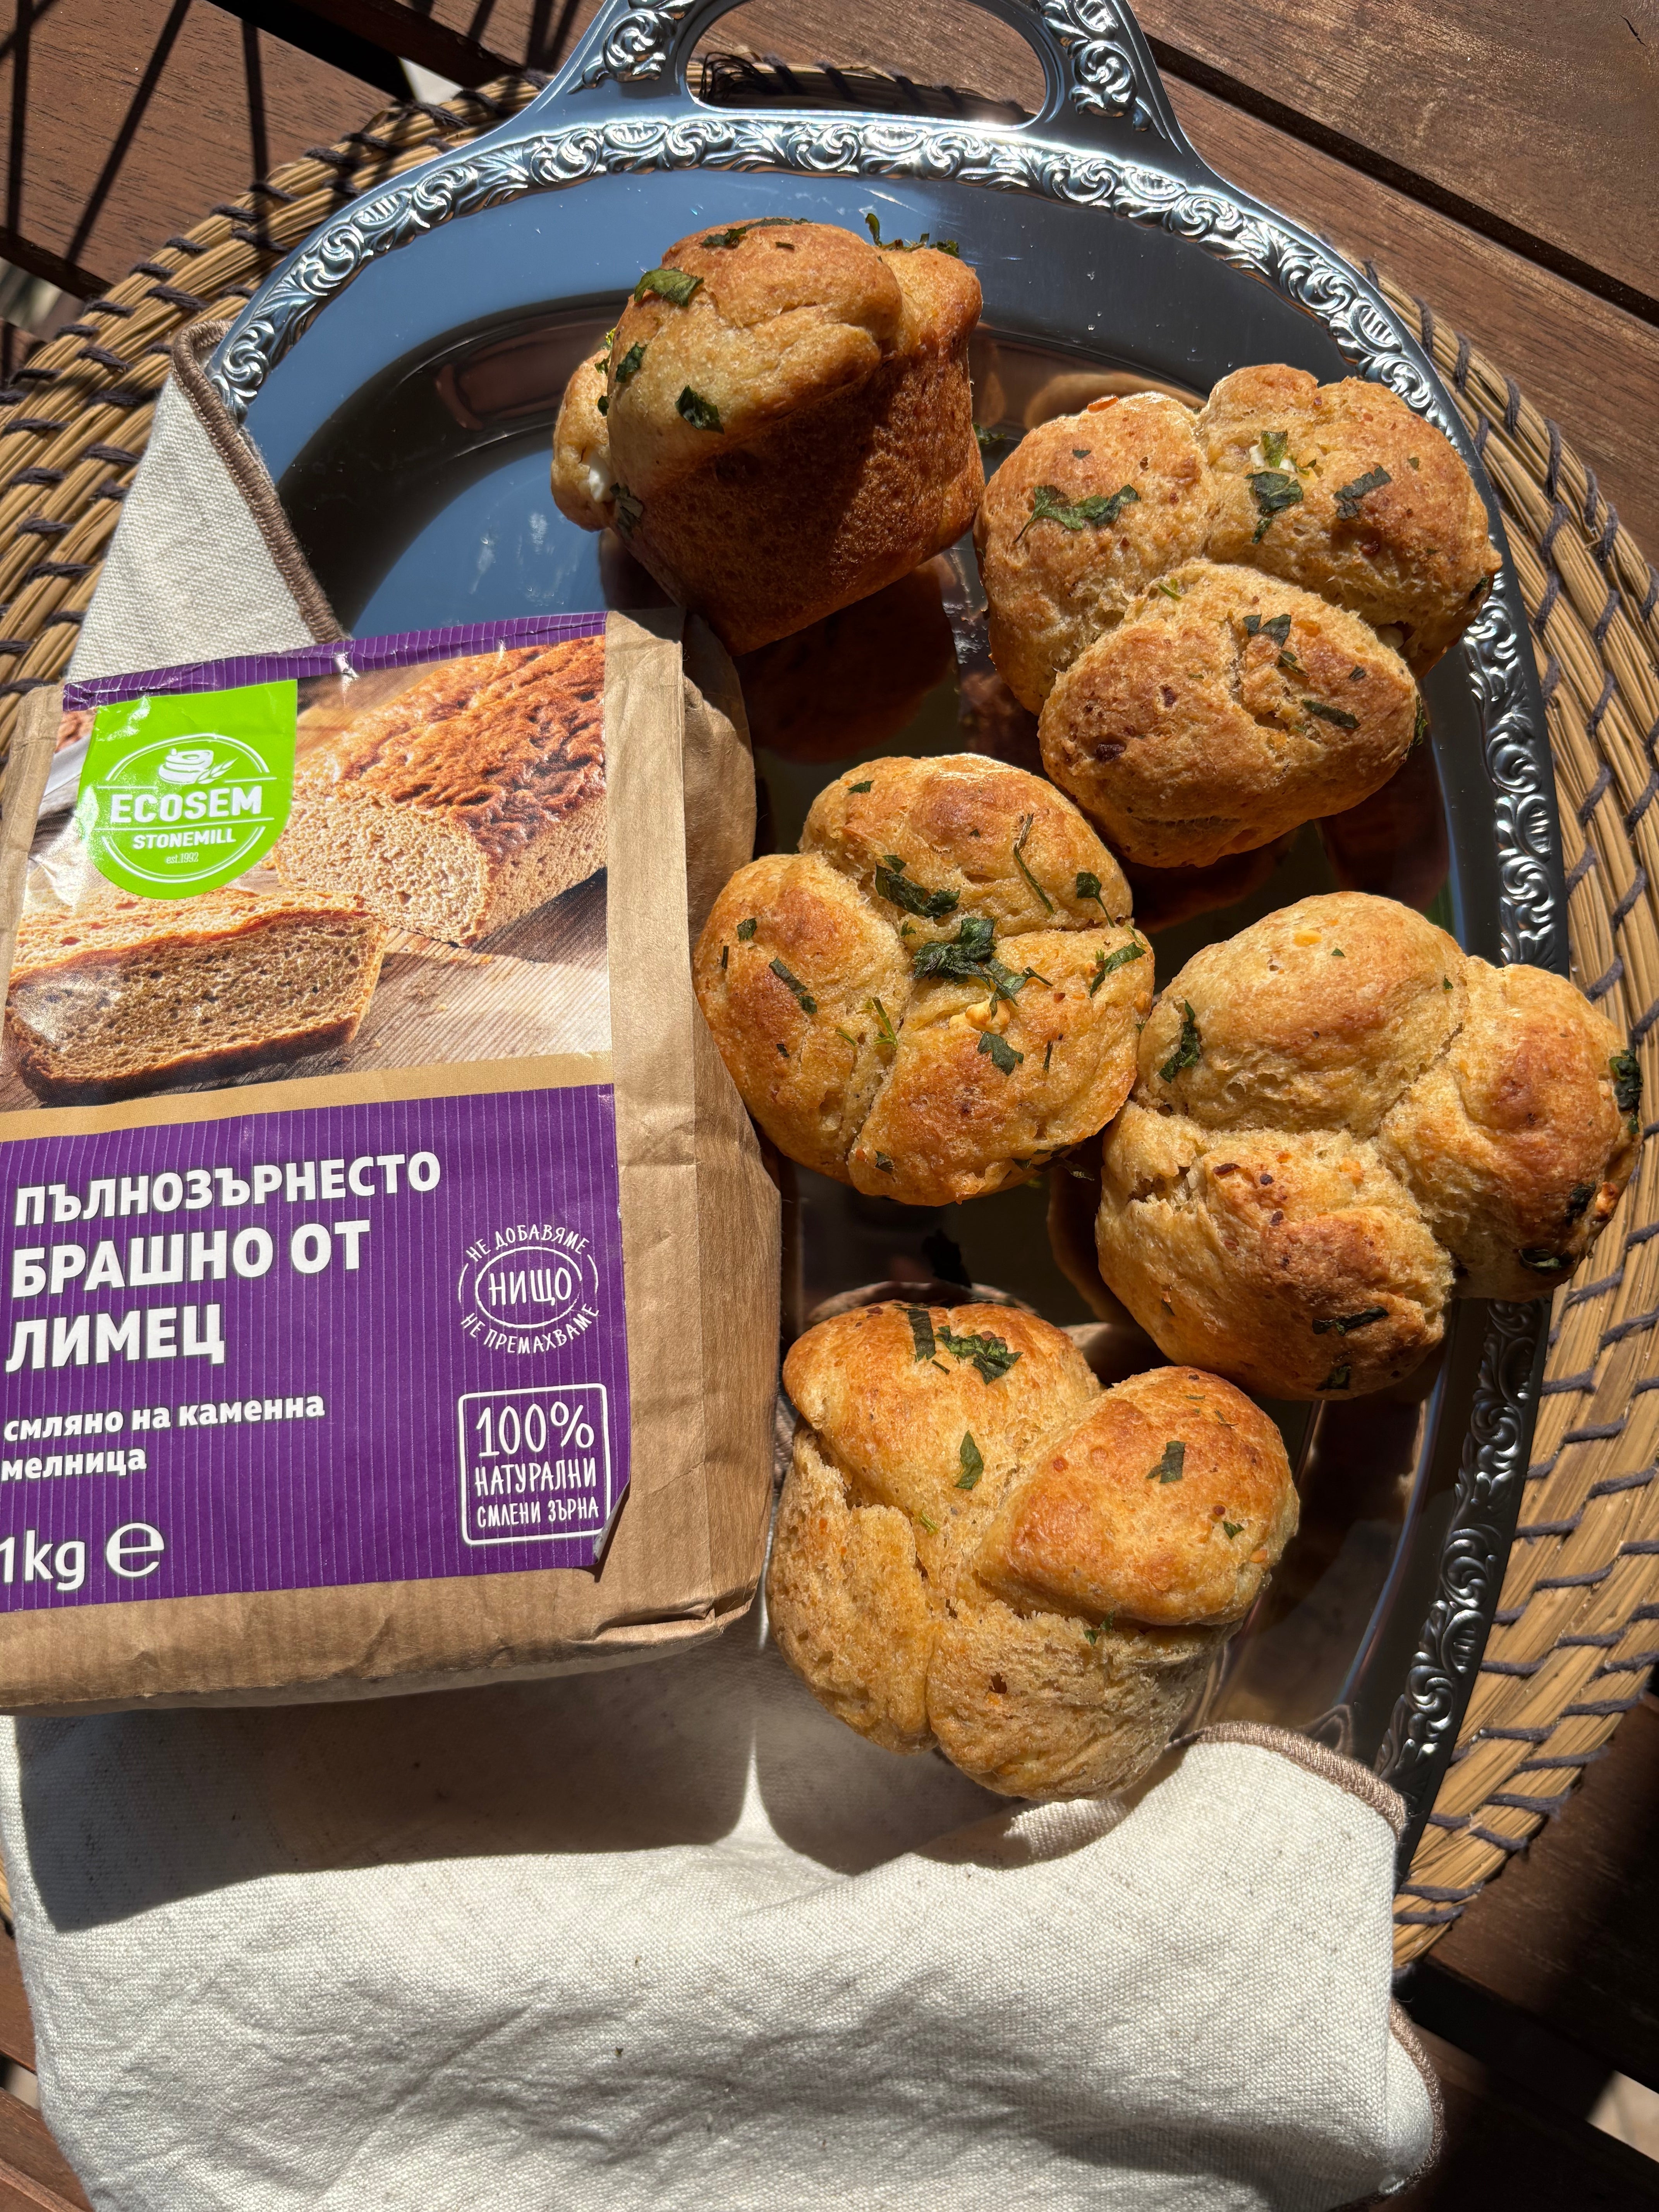
Baking homemade bread is a magic that starts with a handful of flour and a little patience. If you are a beginner, this guide will take you through the basic steps – from kneading to taking the fragrant bread out of the oven. By using quality flour, stone-ground by Ekosem, you are already a step ahead on the path to the perfect result.
Every yeast bread recipe goes through six main stages:
-
Mixing and Kneading
-
First Rise
-
Shaping
-
Second Rise
-
Baking
-
Cooling
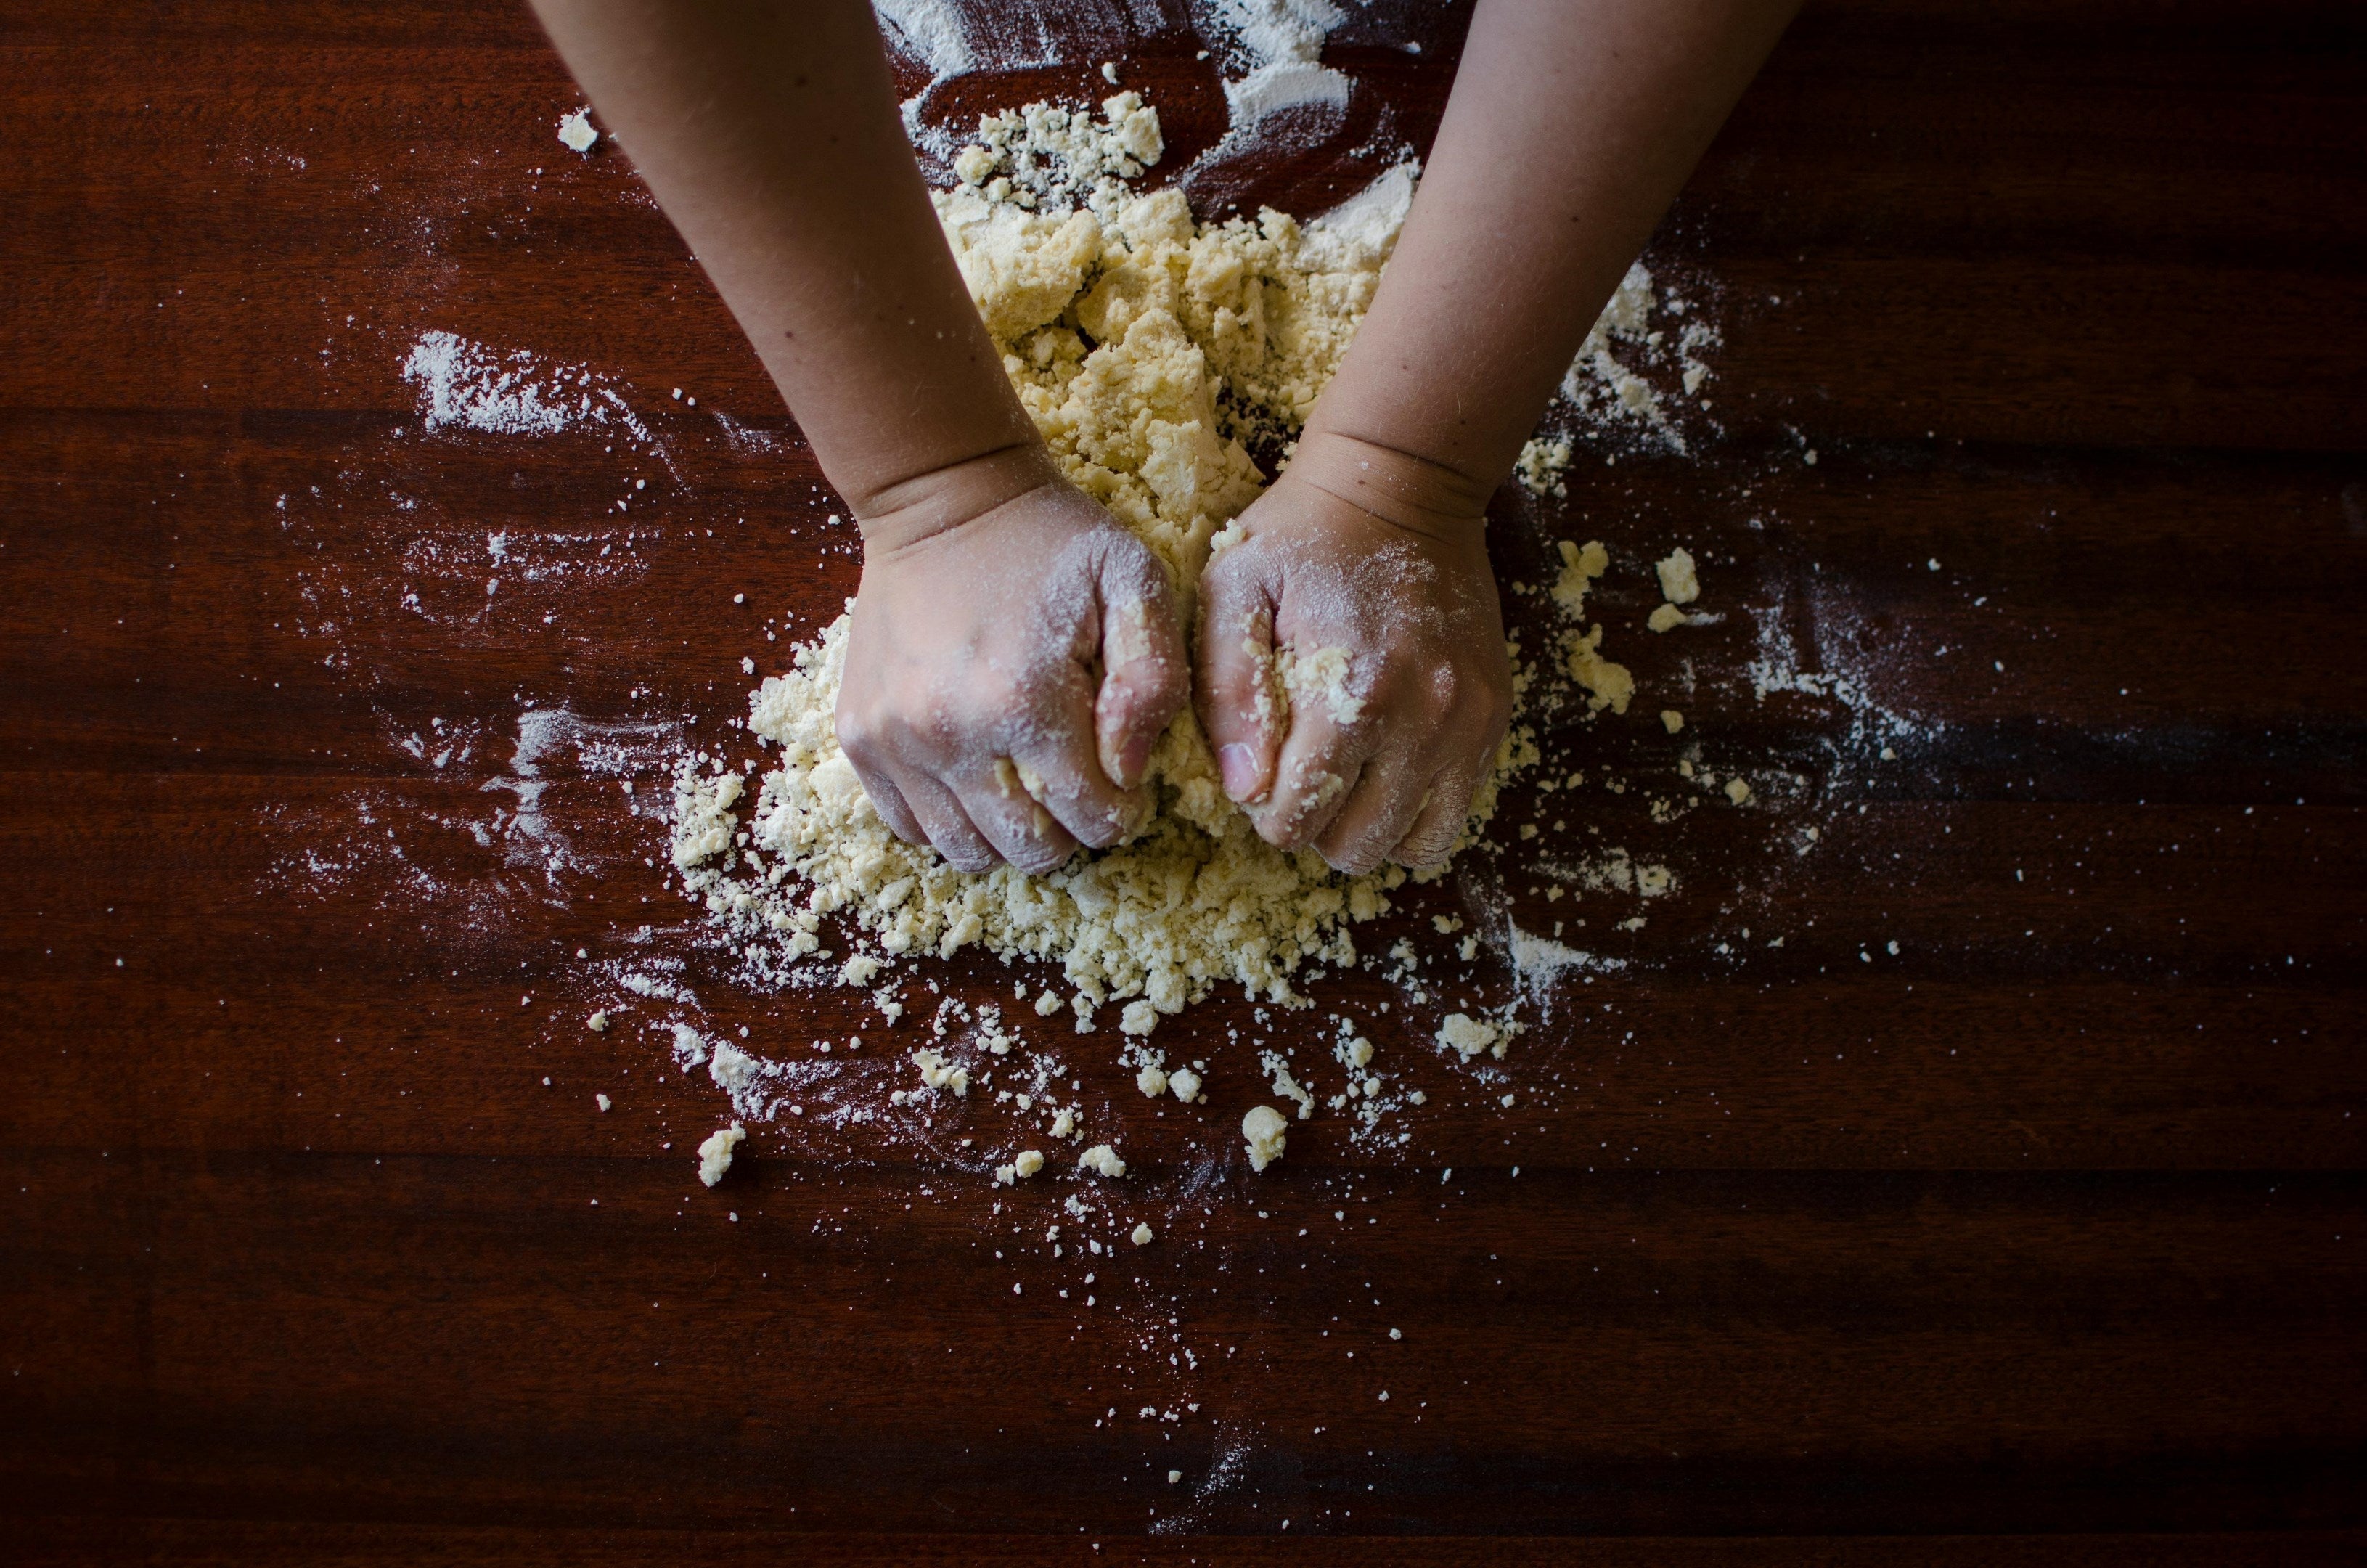
1. Mixing and Kneading: The Foundation of Success
This is where the most important thing happens – building the structure of the bread. The most common mistake is under-kneading.
-
How long to knead? As a general rule – longer than you think. By hand, it takes at least 10 to 20 minutes.
-
With a stand mixer: Work on a low speed (1 or 2). Run it for 5 minutes, then give it 5 minutes to rest so the motor doesn't overheat. Repeat until ready.
-
With a bread machine: It's an excellent helper for kneading. Use the "Dough" cycle, which kneads and proofs the mixture automatically.
-
The "Windowpane" Test: Take a small piece of dough and gently stretch it. If it stretches into a translucent membrane (like a bubble gum bubble) without tearing, the gluten is sufficiently developed.
2. First Rise: The Magic of Temperature
Yeast needs warmth to work.
-
Ideal temperature: Around 30-40°C. You can slightly preheat the oven, turn it off, and then put the dough inside.
-
Cold proofing (in the refrigerator): Dough proofs at any temperature above freezing. For a slow rise (about 12 hours), leave it in the refrigerator overnight – ideal for warm bread for breakfast!
3. Shaping: Be Gentle
Once the dough has risen, it's time to shape it.
-
Golden rule: Don't play with it too much and avoid adding excessive flour, which weighs down the bread. Grease your hands with a little vegetable oil.
-
Shapes: For sandwich bread – stretch and roll into a loaf pan. For round bread – pinch the bottom until the top is smooth. For baguettes – form a "log," let rest for 15 minutes, then stretch it to length.
4. Second Rise: Final Preparation
After shaping, the bread needs to rise again in a warm place.
-
Covering: Use lightly oiled plastic wrap so it doesn't stick to the dough when you remove it.
-
Caution: Watch it carefully – you don't want it to "overproof" and lose its structure just before baking.
5. Baking: The Moment of Truth
-
Preheating: Always put the bread in a preheated oven on the center rack.
-
Scoring: Before placing it in the oven, make artistic cuts with a sharp knife to control where the bread will crack. You can brush with egg or butter for shine.
-
When is it done?: If you have a thermometer, the internal temperature should be between 85-95°C. If in doubt – leave it for a few more minutes for a better crust.
6. Cooling: Patience Pays Off
As tempting as it is, do not cut the bread immediately! It needs to rest for at least 20 minutes. During this time, the internal processes complete, and the crumb becomes perfect.
We hope this has been helpful! Share your first attempts on social media and tag us with #Ekosem.